When I was growing up, my Mom always made a big, big deal about birthdays. We never had a lot of money, but she knew how to celebrate nonetheless! The house would be filled with balloons, gifts and friends. She would cook us our favorite meal and bake a cake with whichever crazy theme we chose. She had a way of making us each feel special.
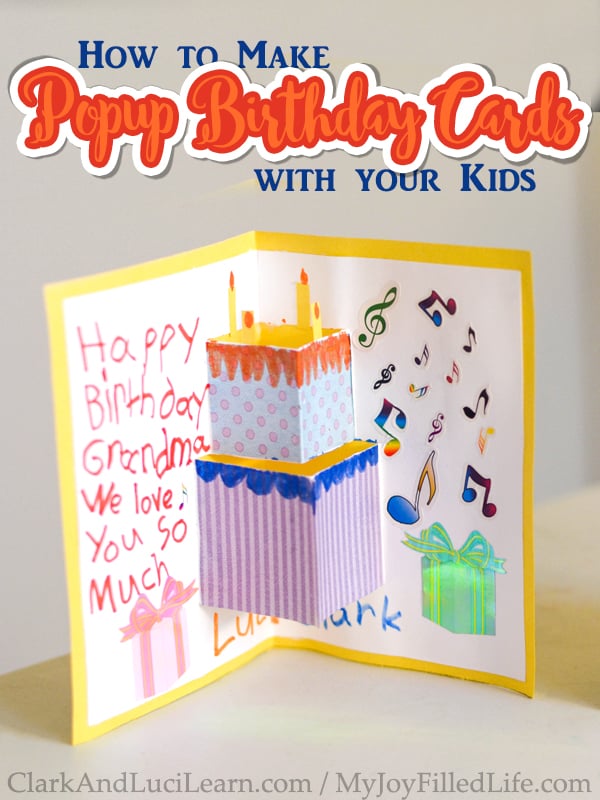
We are all grown now, and we now have the chance to give back to our Mother the gifts that she has given us. Her birthday is coming up in a few days, and we cannot wait to celebrate with her this year! In preparation, I sat down with my kids to make some personalized popup birthday cards. These cards can be made into popup birthday cakes or popup gift boxes. We decided on making birthday cakes.
If you need a quick and easy birthday card, these free printable mini happy birthday cards are perfect, or try happy birthday coloring cards that you can print quickly and color.
Step 1:
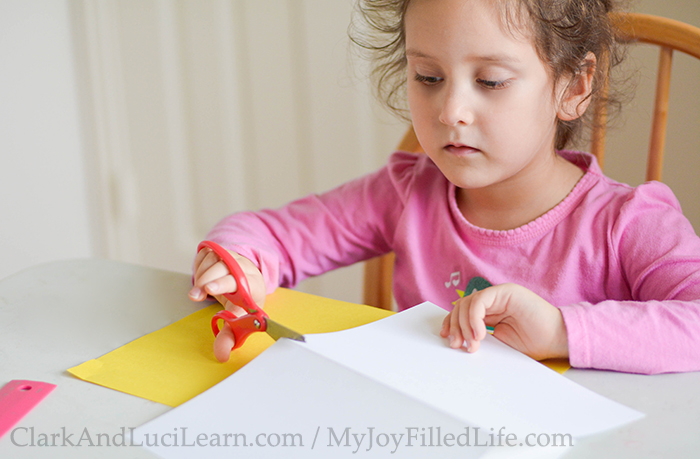
Start with 8½” x 11″ card stock. You will need something a little more sturdy that regular paper. Fold it in half and have your child cut along the fold, creating 2 cards that are 8½” x 5″.
Step 2:
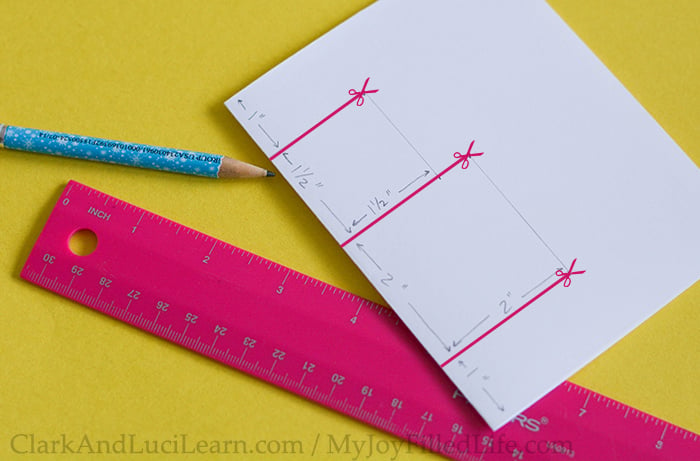
Fold one of the cards in half. This will be the inside of the card. Save the other half of the card for use later. On the outside of the card (which will not be visible), measure out from the bottom 1″, 2″, 1½”, and lastly 1″. This is indicated in the image below. Measure 2″ in for the bottom box (this will be the bottom tier of the cake) and 1½” in for the top box (which will be the top tier of the cake).
Once you are finished with the measurements, have your child cut three straight lines, as indicated by the pink lines with scissors.
Step 3:
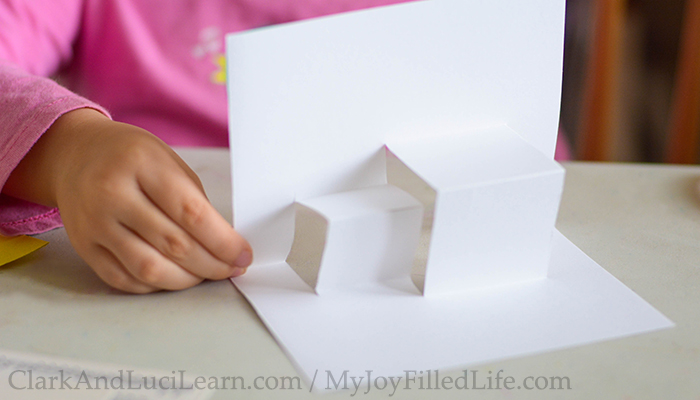
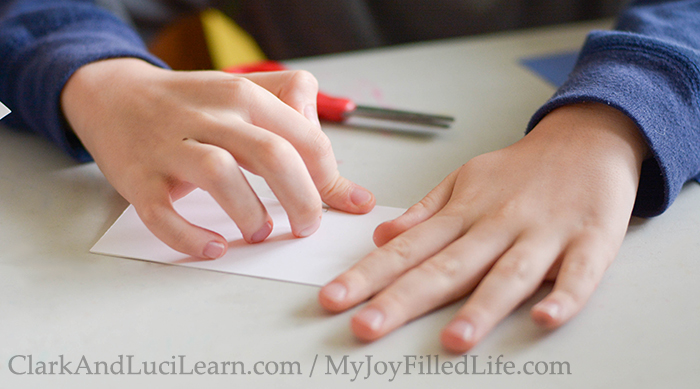
Once the lines are cut, have your child can open the card and start to see it coming into shape. Help them fold it so that the cake tiers are folded inwards as shown below. Press all of the edges down firmly.
Step 4:
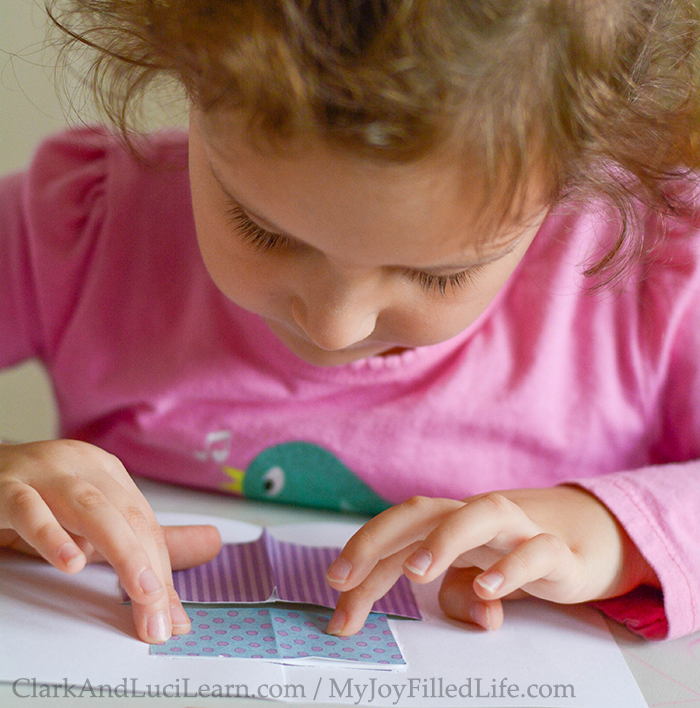
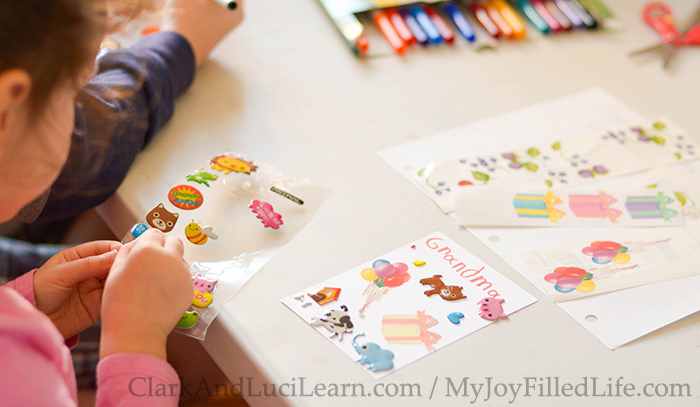
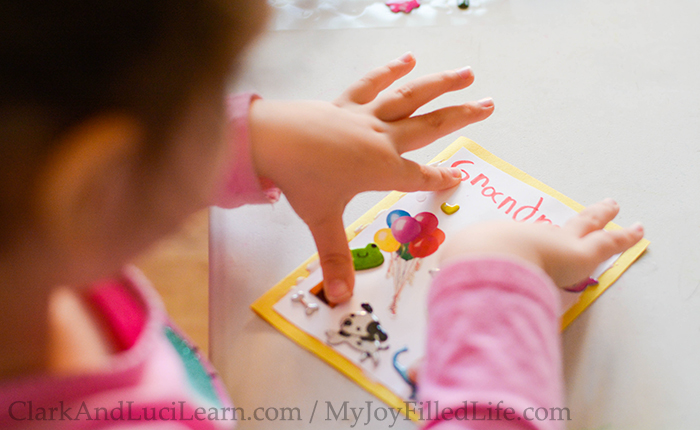
Now it’s time to start decorating the inside of the card. Have your child write their own special message and decorate the cake. You can do this any way you like. We covered the top tier of the cake in a 1½” x 3″ patterned paper and the bottom tier with a 2″ x 4″ patterned paper. Then we covered it with stickers.
Step 5:
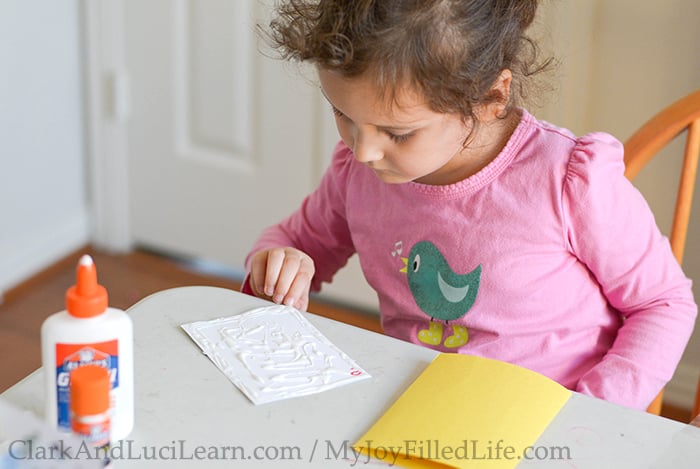
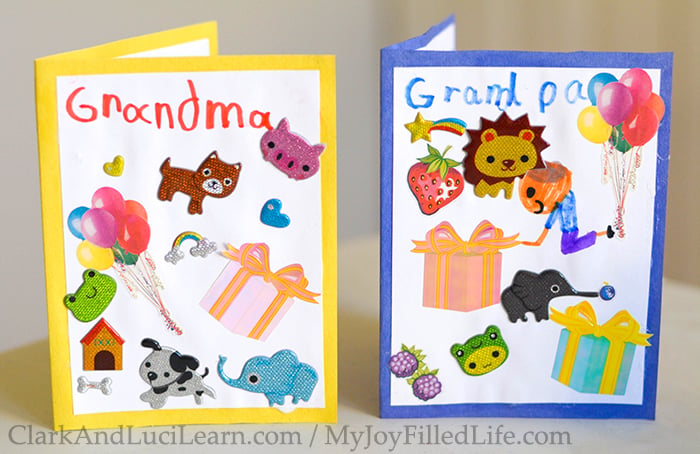
As we wait for the card to dry, we can decorate the front of the card. Take the part of the card stock that was initially cut off in Step 1 and fold it in half. Cut just inside the folded line. This will be the perfect size to go on the front of your card. Have your child decorate this piece however they like. We drew pictures, wrote notes and added stickers.
Step 6:
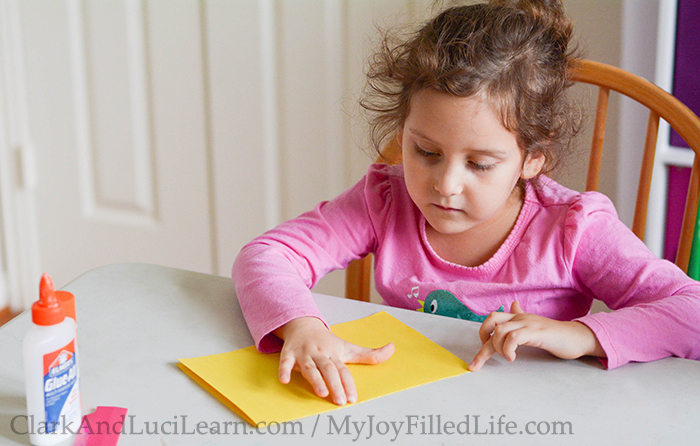
The outer part of the card is made from construction paper. Have your child choose their favorite color. Fold the paper in half, then cut along the fold. Now fold it in half, making the base of the card.
Step 7:
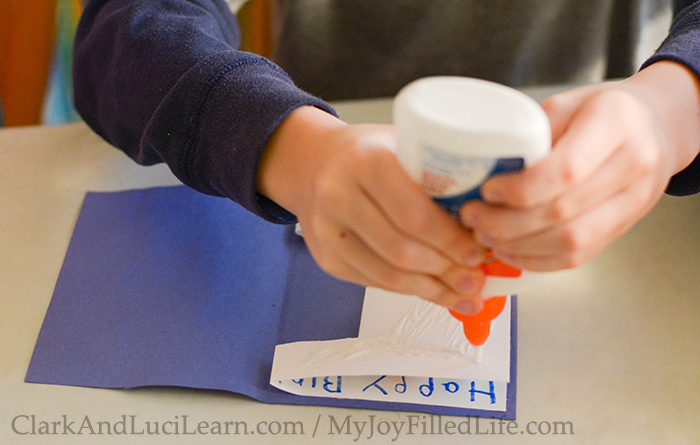
Glue the front of the card onto the construction paper as shown.
Step 8:
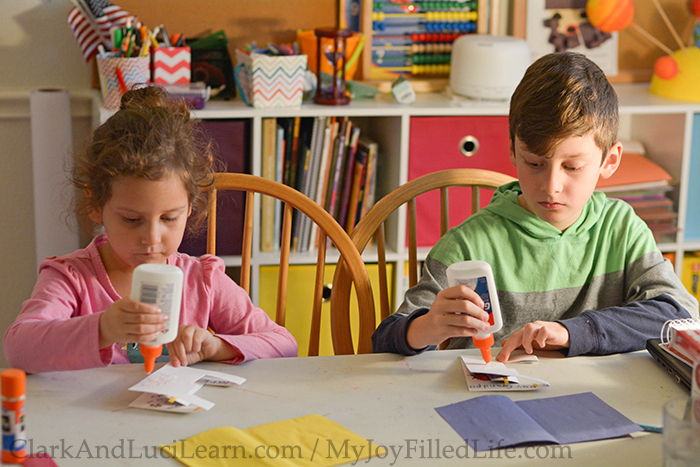
This is the final step, where we glue the popup portion of the card into the middle of the construction paper card. We found it easiest to glue one side of the card stock, then secure it in place before gluing the second side. Once it is glued into place, leave it open and let it dry for a couple of hours. Then close it and place a heavy book over it for several hours to flatten it.
Now your card is ready to be given away! I may have listed several steps, but they are really quite simple to make, even several at a time. The children thoroughly enjoyed it and are so excited to give them to Grandma and Grandpa!
Now it’s your turn! Make your own popup birthday card and post a picture of it over on our Facebook Page. We’d love to see it!
Joanna
Latest posts by Joanna (see all)
- All Moms Need a Reset Button - April 17, 2025
- Bubble Paint Flowers Craft for Kids - April 17, 2025
- Discovering Dandelions - April 17, 2025
- How to Refresh your Marriage with a Personality Test - April 17, 2025
- Thumb Print Clay Diffusers - April 17, 2025




Leave a Reply