

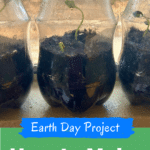
If you’re looking for a fun, hands-on way to teach kids about plant life cycles, ecosystems, and the process of growing plants from seeds, you should make a mini greenhouse with your kids.
This simple activity uses recycled materials and gives kids a front-row seat to see science in action right on your windowsill.
Whether you’re a homeschool mom, classroom teacher, or a parent who loves doing educational activities with your children, this project is perfect for Earth Day, springtime learning, or any plant-themed unit study. Best of all, it doesn’t require fancy tools or expensive supplies—just a few items you likely already have around the house.

Find FREE Earth Day Task Cards at the end of this post!!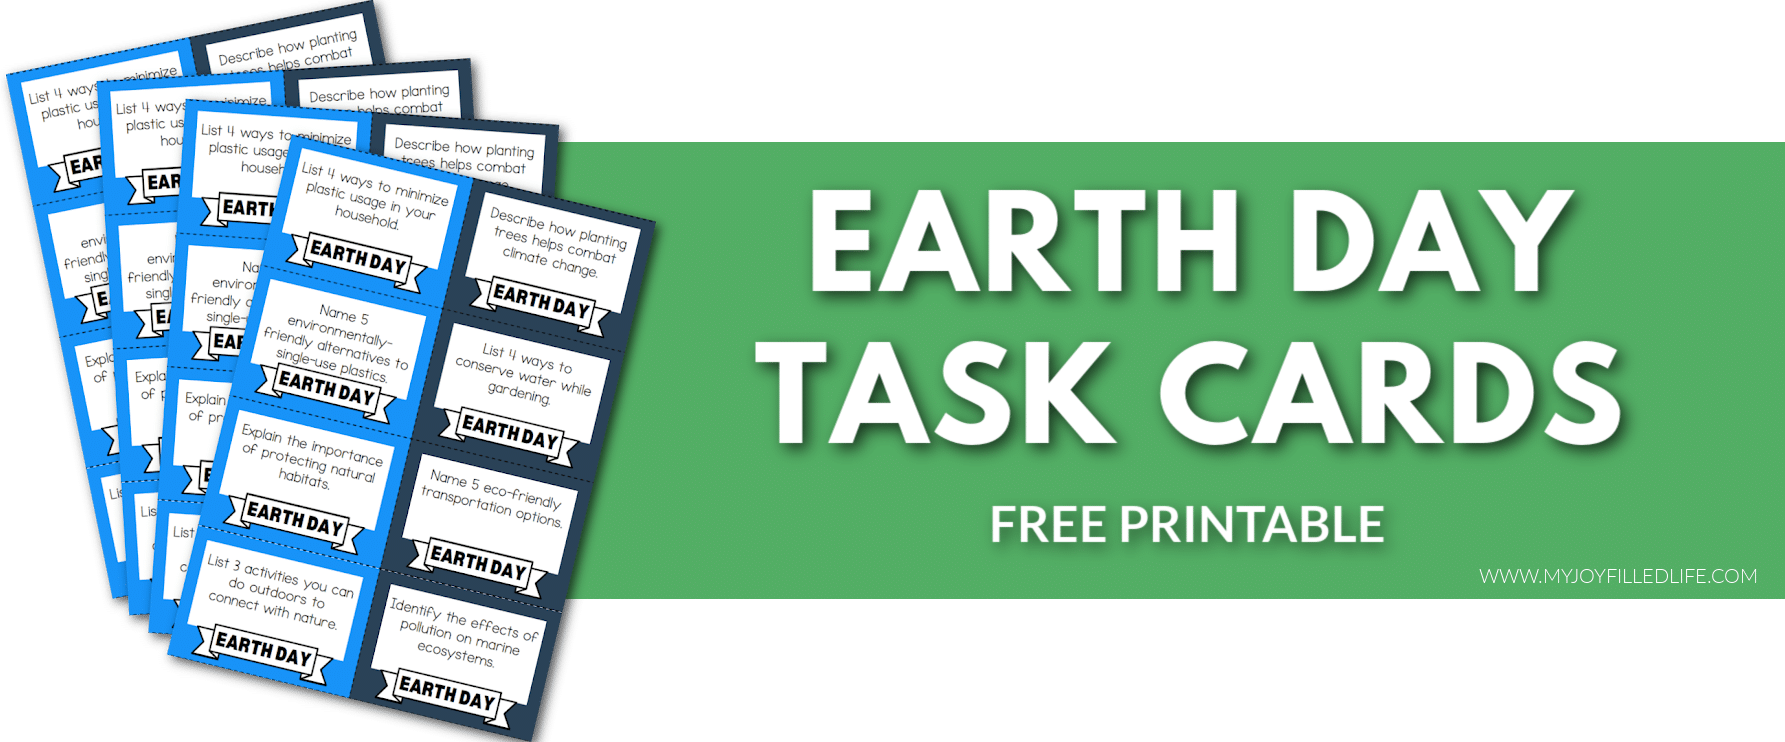
How Does a Greenhouse Work?
A greenhouse is a special environment designed to help plants grow by trapping heat and moisture. When sunlight enters through the clear plastic or glass walls, it warms up the air and soil inside. This creates a cozy, humid space that helps seeds germinate faster and keeps young plants safe from cold or dry air.
In short, a greenhouse mimics a warm, sunny spring day all the time, even when the weather outside isn’t perfect. That’s why even a small, DIY version like these mini greenhouses can be so effective for sprouting seeds indoors.

What Kids Learn from Making a Greenhouse
There are so many great lessons packed into this one simple project. Kids will learn about plant biology, including what seeds need to grow: soil, sunlight, water, and warmth. They’ll also explore the concept of ecosystems and how moisture and temperature affect growth.
For younger children, it’s a chance to work on fine motor skills and follow step-by-step instructions. For older kids, it can lead into deeper lessons about sustainability, climate, and even food production.
Watching seeds sprout and grow gives kids a real sense of accomplishment—and it’s a great reminder that learning doesn’t always come from a textbook.
How Do Seeds Grow Into Gardens?: A Hands-On Book About GardeningOh Say Can You Seed? All About Flowering PlantsSeed to PlantFrom Seed to PlantHow a Seed GrowsTrees, Leaves, Flowers and Seeds: A Visual Encyclopedia of the Plant Kingdom
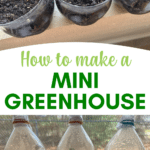
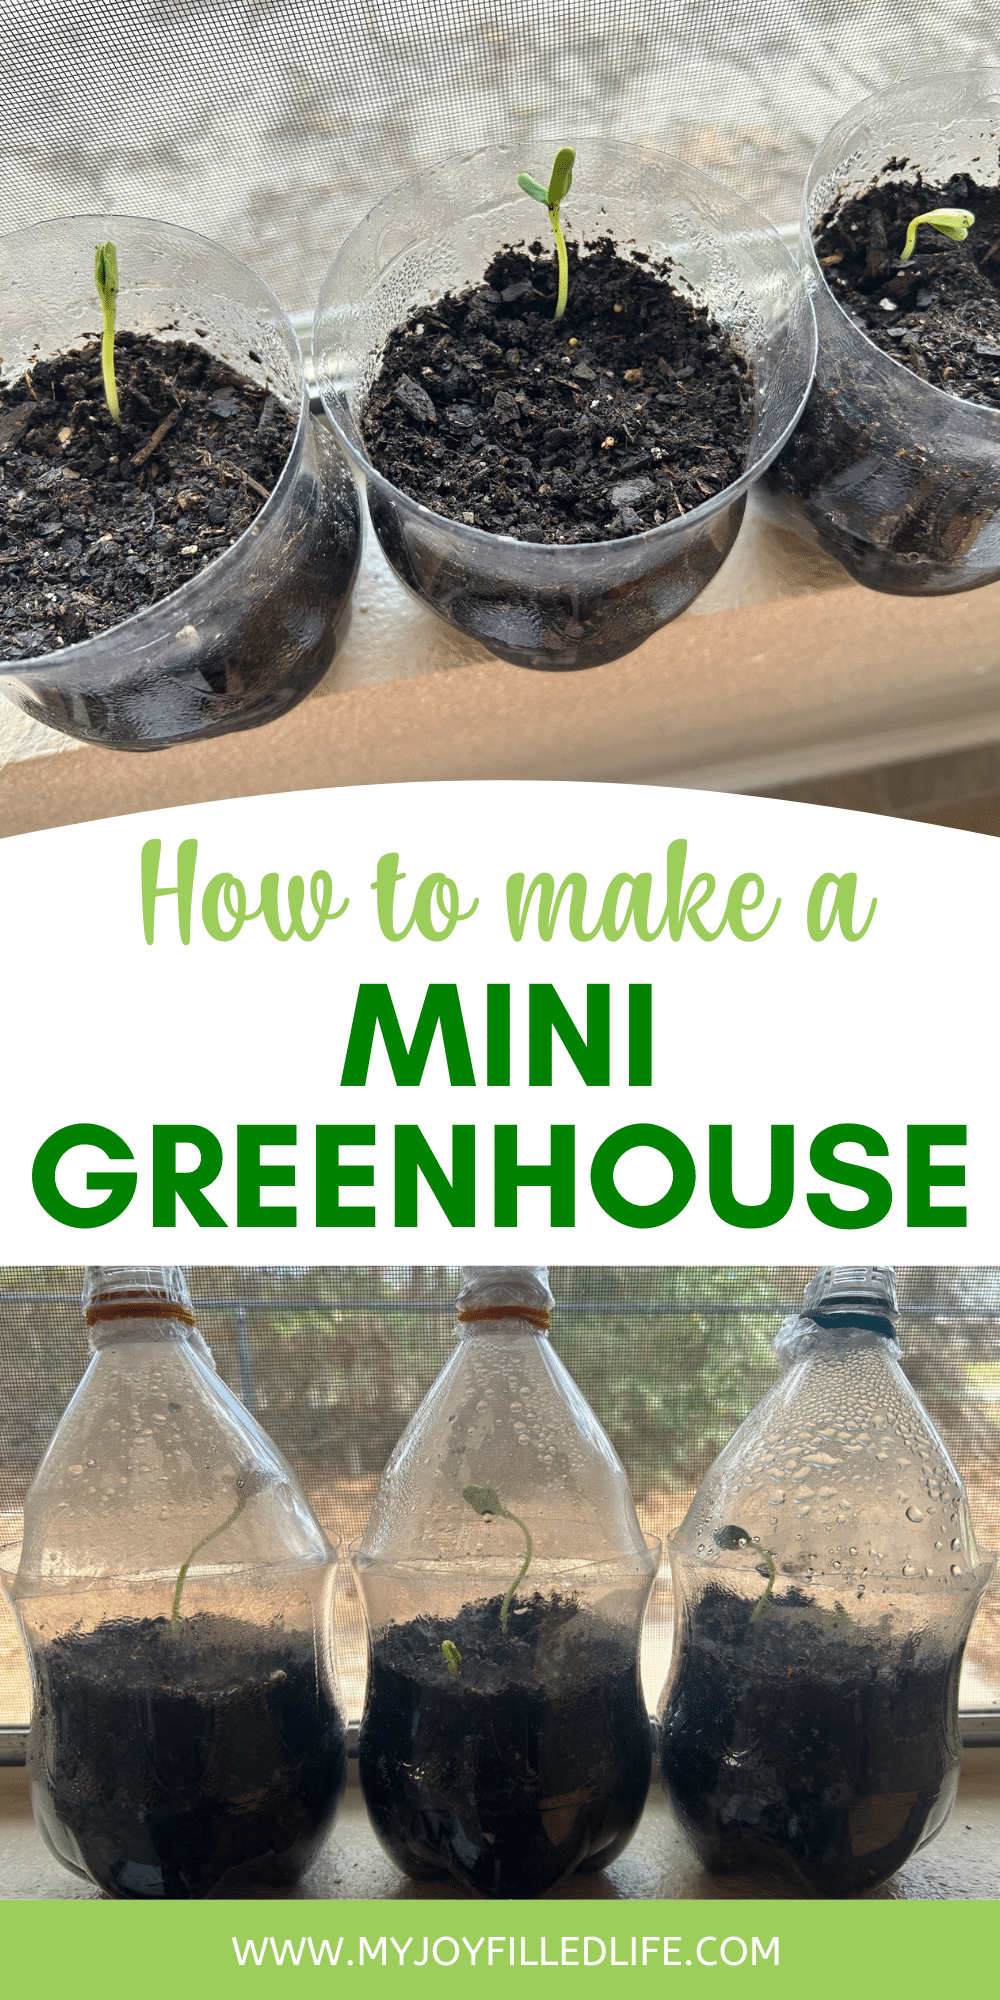
How to Make a mini Greenhouse
Here’s everything you need to make your own mini greenhouse at home using a 2-liter bottle. This method is easy and very kid-friendly (with adult supervision when cutting the bottle).
Supplies:
- Empty and clean 2-liter bottles (1 per greenhouse)
- Exacto knife (for adults to use)
- Plastic wrap
- Rubber band
- Potting soil
- Seeds (sunflowers work well, but you can try anything!)
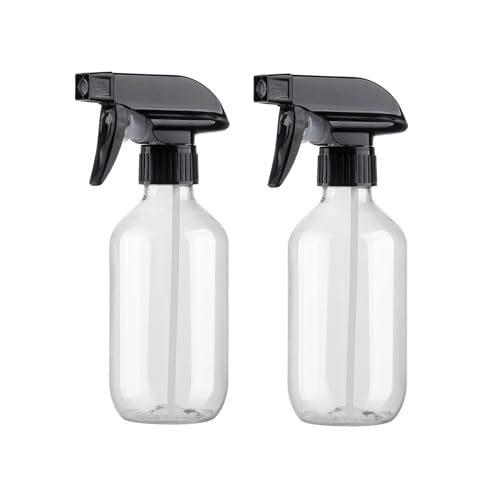
- Spray bottle filled with water
- Optional: Plastic tray for easier cleanup
Exacto Knife SetSpray BottlesCertified Organic Herb Seeds
Instructions:
Cut the Bottle
Use an Exacto knife to cut out the middle portion of the 2-liter bottle. Discard the middle piece. Cut a few small drainage holes in the bottom section.![]()
Prepare the Soil
Fill the bottom half of the bottle with potting soil. Poke 1–3 holes in the soil, and place a seed in each hole.![]()
Water the Seeds
Use a spray bottle to gently moisten the soil. Don’t soak it—just dampen enough to activate the seed.![]()
Create the Greenhouse Effect
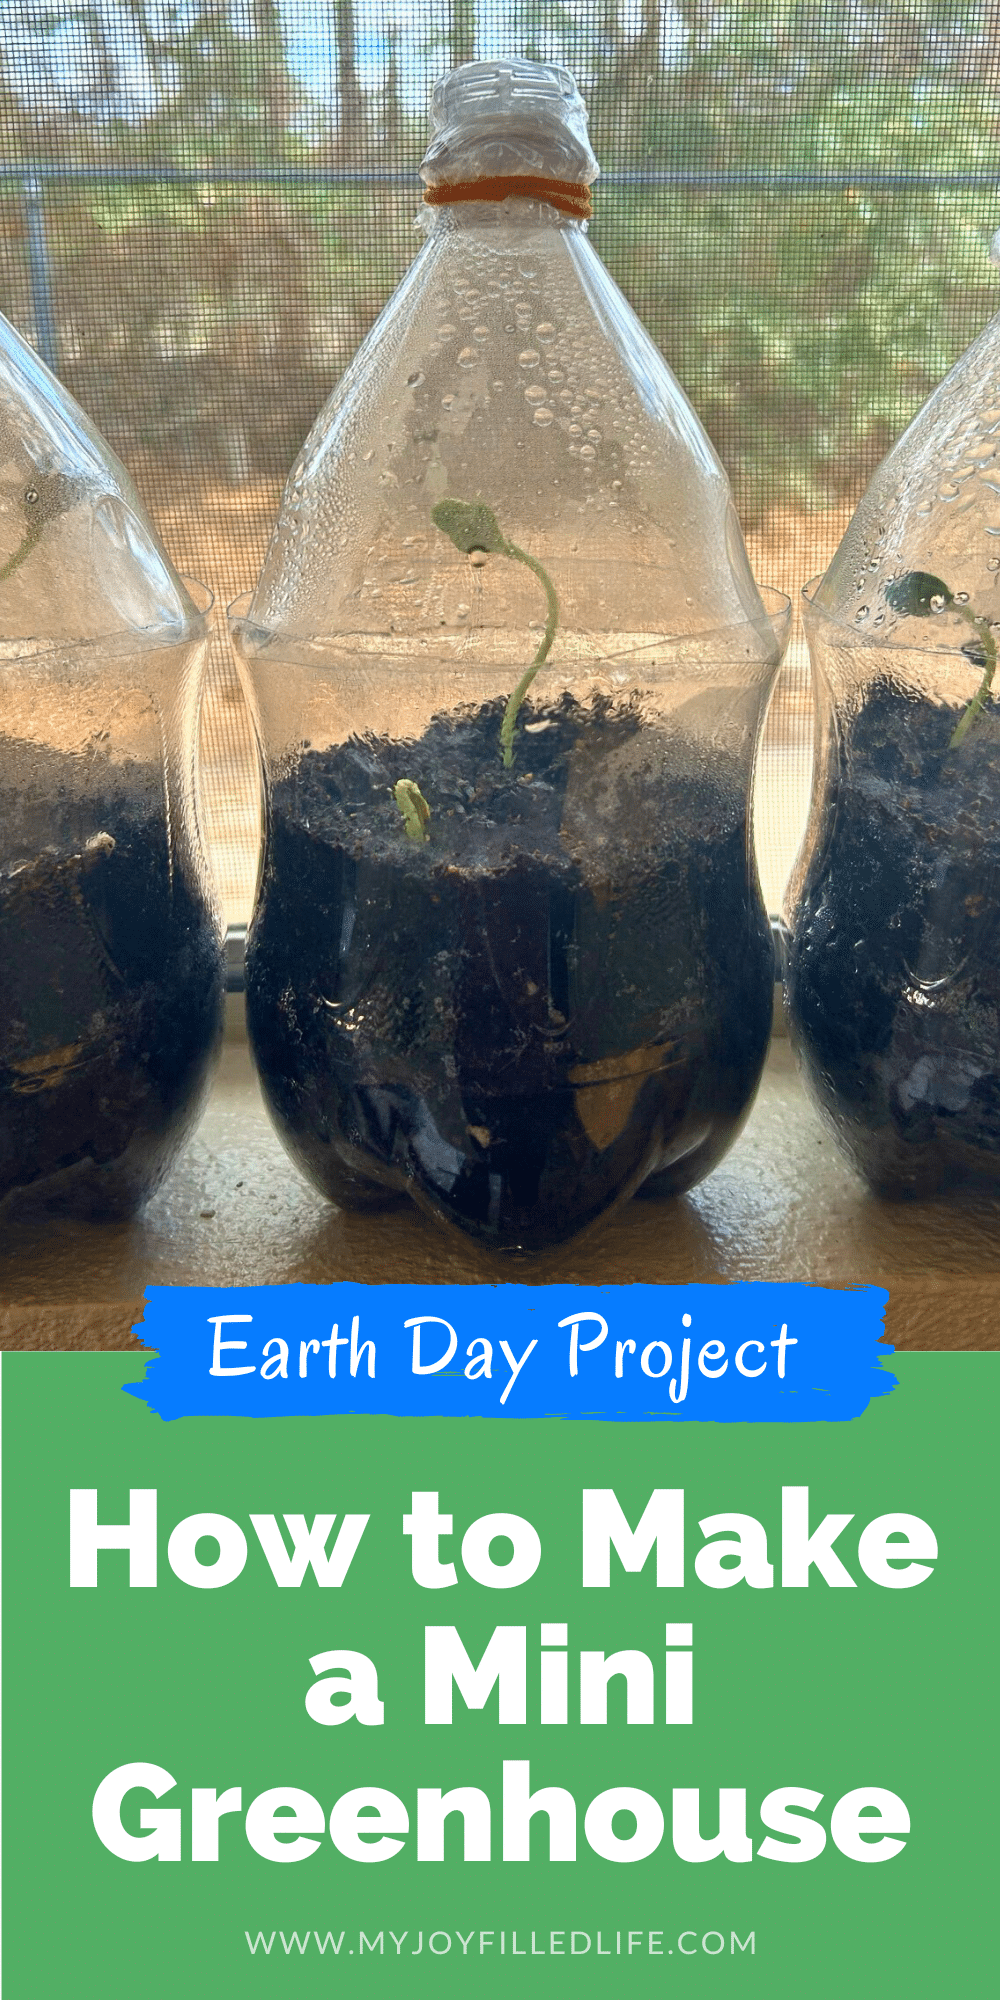
Take the top half of the bottle and cover the open end with a piece of plastic wrap. Secure it with a rubber band. Then nestle the top half inside the bottom half of the bottle to enclose the soil and seeds.![]()
Set It in the Sun
Place your mini greenhouse on a windowsill that gets plenty of sunlight. You can set the bottles in a plastic tray to keep things tidy.![]()
Watch and Wait
Over the next few days, you’ll start to see condensation form inside and—before long—tiny green sprouts! If nothing happens after a week or so, you might need to try new seeds.![]()
Transplant When Ready
Once the seedlings grow a few inches tall, you can move them into a larger pot or directly into your garden.![]()
More Earth Day and Gardening Activities for Kids
Looking for more fun projects like this one? Here are a few ideas to keep the nature learning going:
- Start a compost bin: Teach kids about reducing food waste and how compost helps gardens thrive.
- Paint flower pots: Let kids decorate their own pots and then plant herbs or flowers in them.
- Grow a windowsill herb garden: Basil, mint, and parsley are great beginner plants.
- Create plant observation journals: Have your child draw or write about their seed’s growth each day.
- Make seed bombs: Mix wildflower seeds with soil and clay to toss in garden beds or open spaces.
- Build a bug hotel: Use twigs, pine cones, and bamboo to make a habitat for helpful insects.
Making a mini greenhouse is the perfect way to bring science, nature, and creativity together in one engaging project. It’s ideal for homeschool lessons, classroom enrichment, or simply a fun weekend activity with your kids.
Plus, it encourages kids to appreciate the natural world and become little stewards of the environment. With just a 2-liter bottle, a handful of soil, and a sunny spot, your children can watch life spring up before their eyes.
Mini Greenhouse
A simple, hands-on gardening project perfect for Earth Day, homeschool science lessons, or just a fun day with your kids.
Materials
- Empty and clean 2-liter bottles (1 per greenhouse)
- Exacto knife (for adults to use)
- Plastic wrap
- Rubber band
- Potting soil
- Seeds (sunflowers work well, but you can try anything!)
- Spray bottle filled with water
- Optional: Plastic tray for easier cleanup
Instructions
- Cut the Bottle
Use an x-acto knife to cut out the middle portion of the 2-liter bottle. Discard the middle piece. Cut a few small drainage holes in the bottom section. - Prepare the Soil
Fill the bottom half of the bottle with potting soil. Poke 1–3 holes in the soil, and place a seed in each hole. - Water the Seeds
Use a spray bottle to gently moisten the soil. Don’t soak it—just dampen enough to activate the seed. - Create the Greenhouse Effect
Take the top half of the bottle and cover the open end with a piece of plastic wrap. Secure it with a rubber band. Then nestle the top half inside the bottom half of the bottle to enclose the soil and seeds. - Set It in the Sun
Place your mini greenhouse on a windowsill that gets plenty of sunlight. You can set the bottles in a plastic tray to keep things tidy. - Watch and Wait
Over the next few days, you’ll start to see condensation form inside and—before long—tiny green sprouts! If nothing happens after a week or so, you might need to try new seeds. - Transplant When Ready
Once the seedlings grow a few inches tall, you can move them into a larger pot or directly into your garden.
Recommended Products
As an Amazon Associate and member of other affiliate programs, I earn from qualifying purchases.


Leave a Reply